Transform your home into a celestial sanctuary by selecting a location with minimal light pollution and setting up proper downward-facing lighting fixtures. You'll need essential equipment like digital projectors and smart telescopes, positioned strategically for ideal viewing. Create a comfortable observation area with weather-resistant furniture and blackout curtains, while organizing your astronomical tools in dedicated storage spaces. The journey to your personal planetarium paradise holds many more astronomical wonders to discover.
Choosing the Perfect Space for Your Home Observatory
When beginning your journey to build a home observatory, selecting the perfect location becomes the cornerstone of your stargazing success. Your backyard or attic often provides an ideal setting, offering minimal light pollution and maximum viewing potential. Higher elevations tend to provide clearer visibility of the night sky. To enhance your stargazing experience, consider incorporating cosmic displays from quality star projectors that can make your indoor space feel like an observatory.
Consider essential design considerations like available space, ground stability, and accessibility for equipment. You'll want to avoid areas near trees or power lines that could obstruct your view. Building an observatory requires significant time investment, from planning through final construction.
Safety measures should include proper structural support, weather protection, and secure storage for your valuable equipment.
For best results, choose a spot with clear sky visibility and minimal interference from street lights or passing vehicles.
Don't forget to check local regulations and HOA rules before construction.
Essential Equipment for a DIY Planetarium Setup
Three essential components form the foundation of any DIY planetarium setup: a reliable light source, a projection system, and a suitable display surface.
You'll discover that cardboard construction offers a cost-effective and versatile starting point for your project, allowing you to experiment with different designs and configurations. Creating the interior finish with sawdust and black paint ensures optimal projection clarity. Using a 3W white LED provides the perfect brightness level for star projections, which allows for a more immersive experience similar to those found in home planetariums.
For best results, consider incorporating LED lighting into your setup. You can create a basic projector using an LED torch and a pinhole-studded bowl, or upgrade to a digital projector with a spherical mirror for more sophisticated displays.
When building your structure, prioritize ventilation and minimize internal reflections for the clearest star projections.
Don't forget to factor in portability – lightweight materials and modular designs will give you the freedom to set up your planetarium wherever you choose.
Creating the Right Lighting Environment
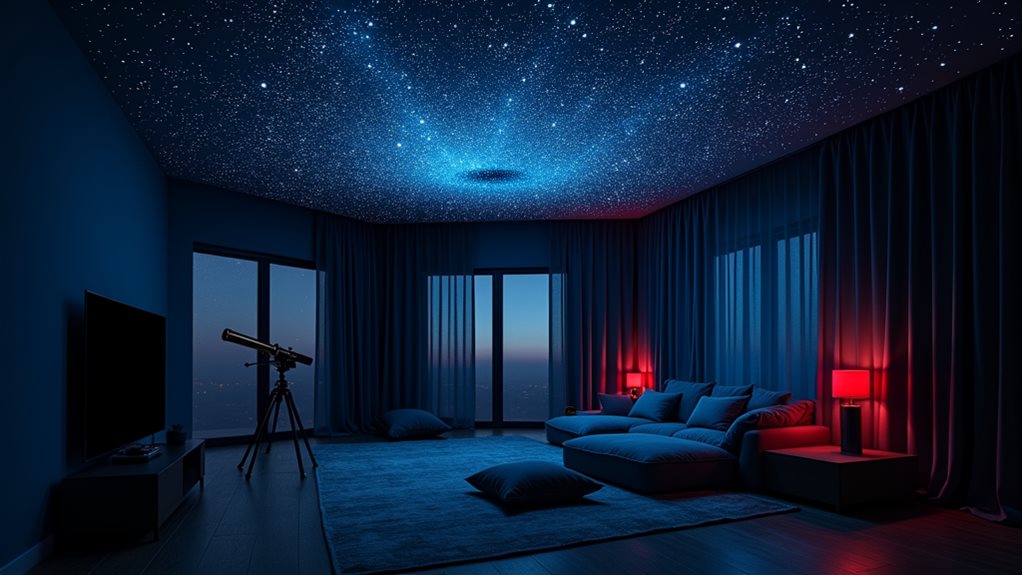
Creating an ideal lighting environment for stargazing requires careful attention to dark sky principles and thoughtful fixture selection.
You'll want to choose fixtures that direct light downward, preventing unwanted sky glow that can interfere with your celestial observations. Select warm lighting color temperatures below 3000K, which produce a gentle amber glow that's less disruptive to night vision. Using red light sources can help preserve your eyes' natural night vision capabilities. Additionally, implementing star projectors can enhance the overall experience by simulating the night sky in your own home.
Consider installing motion sensors and timers on your outdoor lights, and opt for dark sky compliant fixture types like shielded wall sconces and low-profile bollard lights. Digital projectors have made creating stunning night sky displays more accessible than ever before.
You'll maximize your stargazing potential by mounting lights at lower heights and spacing them strategically around your property.
Don't forget to include dimming capabilities – you can reduce brightness to just 10% when you're ready to explore the cosmos.
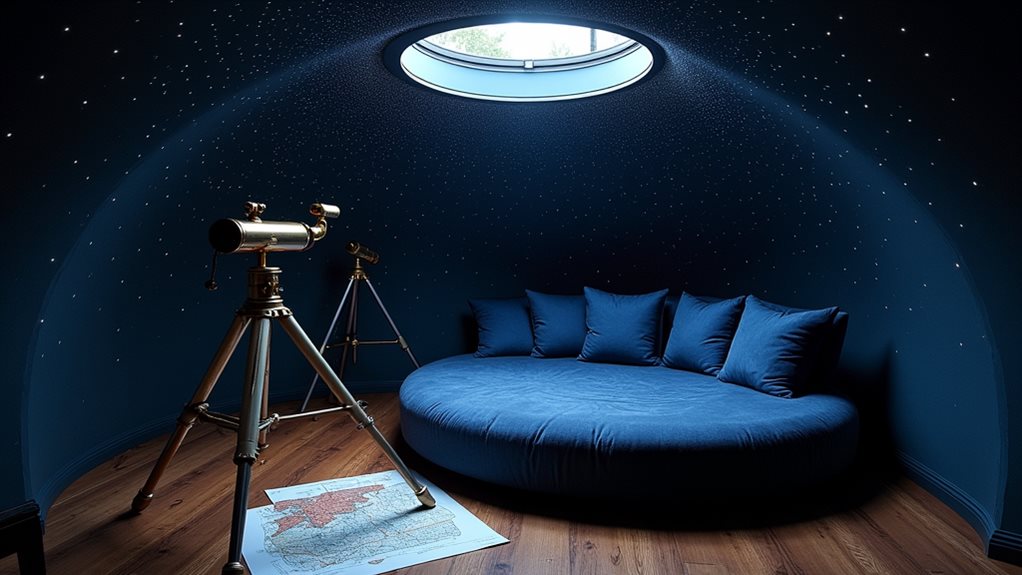
Setting Up Digital Sky Projectors and Star Maps
When you're ready to set up your digital sky projector, you'll want to position it at an ideal height and angle that allows the hemispherical mirror to properly reflect onto your viewing surface. Your star maps should be arranged nearby for quick reference, whether you're using the Orion Star Target Planisphere or a digital alternative through Stellarium software. For optimal use, ensure your star maps are clearly marked to help you identify constellations and celestial objects during your indoor viewing sessions. Consider incorporating LED lighting systems that provide bright, long-lasting illumination while maintaining energy efficiency. Additionally, ensure you select a projector with high-definition projections to enhance the clarity of your celestial display. You can enhance your setup's effectiveness by incorporating smart projection controls that let you adjust brightness, focus, and celestial movements with precision, creating an immersive indoor stargazing experience.
Digital Projector Placement Tips
Setting up a digital sky projector requires careful attention to placement for achieving the most immersive stargazing experience.
You'll want to position your projector perpendicular to your ceiling or viewing surface, ensuring ideal image clarity adjustments through proper projector alignment techniques. Physical positioning is more effective since keystone corrections can degrade image quality. If you're using a dedicated screen, mount it securely to prevent any ripples that could distort your celestial display. The included adjustable feet allow for precise angling of the projector for optimal positioning. For best image quality, it's important to avoid any potential blocking objects that could cast shadows on your projection.
For the best results, consider mounting your projector on a high shelf or using a ceiling mount, angling it slightly downward to create a complete cosmic view.
Don't rely too heavily on keystone correction; instead, focus on physical positioning to maintain image quality. You can fine-tune the projection by adjusting the zoom and focus until your artificial night sky appears crisp and vivid.
Indoor Star Map Basics
To bring the celestial wonders indoors, you'll need a solid foundation in star map basics and digital projection techniques.
With modern star map customization tools and indoor navigation methods, you'll transform any room into your personal planetarium.
Get started with these essential steps for creating your indoor celestial display:
- Use Stellarium for accurate star chart data capture
- Create custom vector files through Inkscape for precise editing
- Add spherical grids for enhanced navigation reference
- Illuminate your maps through strategic pinhole placement
- Integrate digital projectors for dynamic sky displays
One important aspect to consider when utilizing star projectors is brightness adjustability, which allows for customization based on space size and personal preferences.
Whether you're crafting traditional paper star maps or embracing digital solutions, you'll find that mastering these fundamentals opens up endless possibilities for indoor stargazing.
Combine physical maps with digital projections to create an immersive astronomical experience that you can enjoy regardless of weather conditions.
Smart Projection Control Features
Modern digital sky projectors have revolutionized indoor stargazing with their smart control features and versatile capabilities.
You'll find unprecedented control over your celestial displays through voice automation and custom colors, allowing you to create the perfect stargazing environment with minimal effort.
You can fine-tune your projection's brightness, adjust the atmosphere multiplier for realistic day-to-night shifts, and save your preferred settings as default configurations.
With programmable features, you're able to simulate specific celestial events like eclipses and planetary alignments.
The integration of smart timers lets you schedule viewing sessions, while advanced LED technology guarantees energy efficiency and longer operating life.
Whether you prefer static star fields or rotating galaxy views, these projectors give you the freedom to explore the cosmos from your own space. Plus, the Encalife Atmosphere provides access to 16.7 million nebula colors, enhancing your customizable experience.
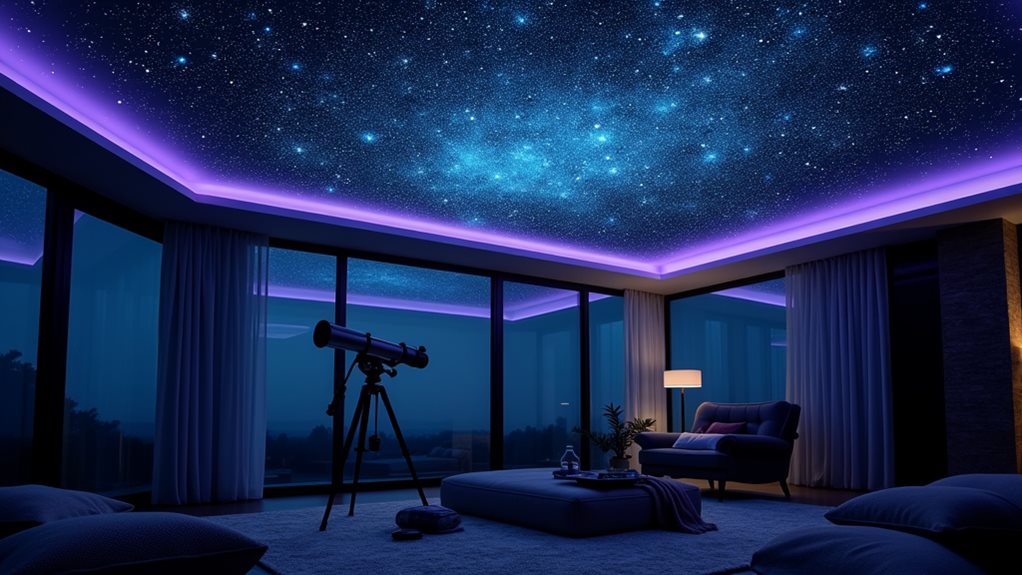
Building a Comfortable Viewing Area
Creating your ideal stargazing space starts with strategic outdoor seating arrangements that protect you from the elements while maintaining clear views of the night sky.
You'll want to incorporate weather-resistant furniture and portable shelter options that won't obstruct your celestial observations, along with reliable covers for your equipment. Additionally, ensure that your setup includes options for weather resistance to safeguard your projector during unforeseen changes in weather conditions.
Smart lighting solutions, including dimmed path markers and red-light options, will help you navigate your viewing area while preserving your night vision.
Outdoor Seating Setup
Building a comfortable outdoor viewing area starts with three essential elements: the right furniture, strategic positioning, and thoughtful layout design.
You'll want to invest in furniture materials that can withstand outdoor conditions while maximizing seating comfort for those long nights under the stars.
Create your perfect stargazing sanctuary with these key features:
- Five-way adjustable chaise lounges for ideal viewing angles
- Swivel club chairs that let you track celestial movements
- Modular seating arrangements for flexible positioning
- Moisture-resistant fabrics to protect against evening dew
- Side tables for astronomy equipment and refreshments
Position your furniture away from streetlights and tree shadows to guarantee unobstructed views.
You'll appreciate having adjustable backrests and footrests that allow you to maintain comfortable positions while exploring the night sky. Additionally, consider enhancing the atmosphere with a star projector to create a visually appealing ambiance that brings the night sky indoors.
Weather-Protected Viewing Spaces
While clear skies are essential for ideal stargazing, you'll need a well-designed viewing space that shields you from nature's unpredictable elements. Start by incorporating weather resistant materials into your structure's design, ensuring durability against various climate conditions.
Consider installing a retractable roof or smart glass panels that'll give you flexibility in viewing options while maintaining protection.
To create your perfect stargazing sanctuary, focus on best temperature control through proper insulation and climate systems. You'll want to include windbreaks to minimize gusty disruptions and waterproof canopies for unexpected rain showers. Additionally, integrating projector quality in your entertainment setup can enhance the overall experience of your stargazing sessions.
Don't forget about dehumidifiers to combat fog and haze that can obstruct your view. By thoughtfully designing your weather-protected space, you'll be ready to explore the cosmos in comfort, regardless of what Mother Nature throws your way.
Light Control Solutions
A well-designed light control system serves as the foundation for any serious stargazing setup.
To minimize light pollution and maximize your view of the cosmos, you'll need to take control of your outdoor lighting environment. By implementing smart solutions, you're not only enhancing your stargazing experience but also promoting energy efficiency.
Consider these essential light control strategies for your viewing area:
- Install fully shielded fixtures that direct light downward
- Use warm-colored bulbs (3000K or less) to reduce blue light emission
- Integrate motion sensors to activate lights only when needed
- Set up smart dimmers to control brightness levels
- Implement timers to automatically manage lighting schedules
Weather-Proofing Your Stargazing Space
Creating an effective stargazing space requires careful attention to weather-proofing, which can make the difference between a successful observation session and a disappointing one.
When you're setting up your observation area, prioritize stargazing safety by choosing a location with proper drainage and minimal obstruction from trees or buildings. Weather considerations should guide your material choices, so opt for waterproof options like polycarbonate or metal for your structure's roof.
You'll want to seal all seams with weatherproof tape and establish a stable foundation using treated lumber or concrete.
For winter sessions, equip yourself with waterproof boots and insulated ground padding. Don't forget to install wind protection and maintain a clear, ice-free viewing area.
Organizing Your Astronomical Tools and Resources

Proper organization of your astronomical tools and resources serves as the foundation for successful stargazing sessions.
By implementing smart storage techniques and tool organization strategies, you'll transform your space into an efficient astronomical hub.
Consider these essential organizational elements to enhance your stargazing experience:
- Install dedicated shelving units for bulky equipment like tripods and mounts
- Use airtight containers with foam padding to protect sensitive optics
- Create a well-lit workspace for equipment preparation and maintenance
- Implement cable management solutions to prevent tangling and tripping
- Digitize your star charts and manuals to reduce physical clutter
Keep your telescope elevated off the ground, whether in your garage or basement, and invest in high-quality storage cases with proper padding.
Remember to prioritize accessibility while maintaining security, ensuring your equipment stays protected yet ready for spontaneous viewing sessions.
Incorporating Technology for Enhanced Viewing
Modern technology can revolutionize your stargazing experience through digital sky mapping tools, which help you instantly identify constellations and celestial objects with your smartphone.
You'll find that smart telescopes, equipped with automated tracking and alignment features, make it easier to locate and observe specific astronomical targets, even if you're new to astronomy.
These technological innovations, when combined with traditional observation methods, create a more enriching experience by providing real-time information and enhanced viewing capabilities that weren't possible just a few years ago.
Digital Sky Mapping Tools
Digital sky mapping tools have revolutionized the way we explore and understand the celestial sphere.
You'll find these powerful resources transform your stargazing experience through immersive exploration of the cosmos, right from your home. With digital mapping software like Stellarium, you're free to explore the night sky at any time, regardless of weather conditions.
Here's what you can achieve with these tools:
- Create your own digital planetarium using a projector and dome setup
- Track real-time star positions specific to your location
- Analyze detailed 3D models of celestial bodies
- Access extensive astronomical databases like SDSS
- Learn complex astronomical concepts through interactive visualizations
Whether you're an amateur astronomer or a serious enthusiast, these tools offer unprecedented freedom to explore the universe's mysteries while enhancing your understanding of cosmic phenomena.
Smart Telescope Integration
Smart telescopes represent the latest breakthrough in astronomical observation, seamlessly blending cutting-edge technology with traditional stargazing methods.
With advanced smart telescope features like AI-powered targeting and automated alignment, you'll spend less time setting up and more time exploring the cosmos.
You'll appreciate how these modern marvels use celestial target identification to instantly recognize stars, planets, and deep-sky objects.
Whether you're using a Celestron StarSense Explorer or a Vaonis Hestia, your smartphone becomes your personal guide to the universe.
Through dedicated apps, you can control your telescope's movement, capture stunning photographs, and even share live feeds with fellow stargazers.
The integration of adaptive optics and real-time image stacking means you'll see clearer, brighter views of distant celestial objects than ever before.
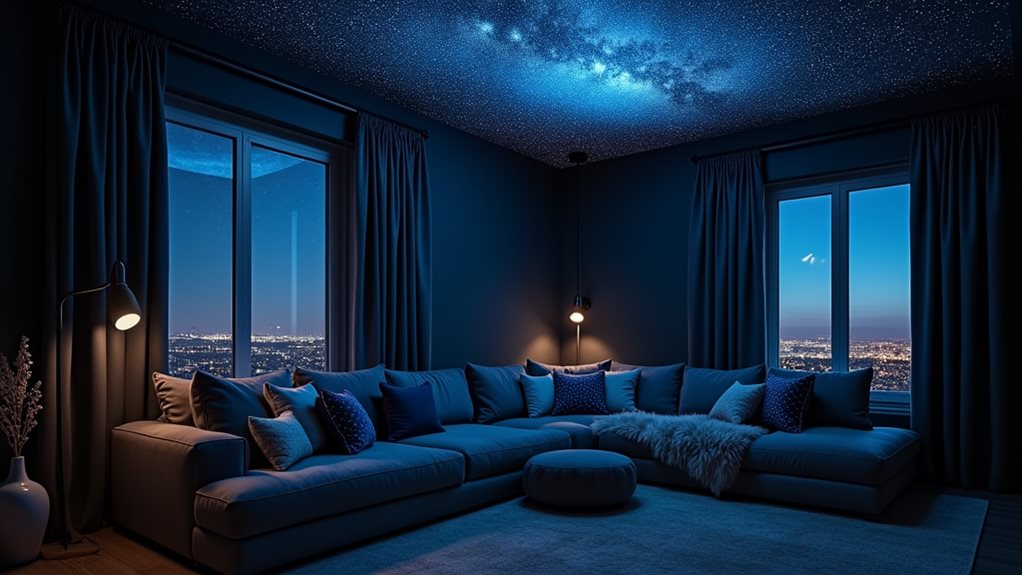
Maximizing Small Spaces for Optimal Observation
Even with limited outdoor space, you can create an ideal stargazing environment by making strategic adjustments to your viewing area.
Let's explore essential stargazing strategies and observation techniques that'll help you maximize your small space for celestial viewing.
- Set up your telescope on a stable, level surface away from direct light sources
- Use red-light flashlights and dim electronics to preserve night vision
- Position blackout curtains or shades to minimize light pollution
- Allow your telescope to acclimate to outdoor temperatures for an hour before viewing
- Keep cleaning supplies like microfiber cloths readily accessible
Remember to optimize your viewing position by choosing high-altitude targets initially, and make use of technology like stargazing apps to enhance your experience.
With proper preparation, you'll transform your limited space into an efficient observation post for exploring the cosmos.
Connecting Your Home Observatory to Remote Telescopes
Transforming your home observatory into a remote-controlled viewing station opens up exciting possibilities for astronomical observation without physical presence.
You'll need to establish reliable remote access by connecting your telescope system to a router and setting up smart plugs for power control. Install remote desktop software like TeamViewer to manage your equipment from anywhere.
For seamless telescope troubleshooting, verify your system includes essential components like a motorized dome, automated focuser, and on-site computer.
Set up outdoor cameras to monitor conditions in real-time, and configure your equipment for automatic startup.
Don't forget to implement redundant systems and backup power supplies to maintain consistent operation.
With proper setup and regular testing, you'll create a dependable remote observatory that lets you explore the cosmos from any location.
Frequently Asked Questions
How Long Does It Take to Build a Complete Home Planetarium?
You'll need about 2-3 days to complete your home planetarium, depending on your building materials and experience level. The installation timeline includes one day for preparation and 1-2 days for assembly and finishing touches.
Can Multiple People Use the Home Observatory Simultaneously?
Yes, you'll love group viewing with multiple users! You can easily share your telescope's live feed, cast to smart TVs, and control settings remotely. Everyone can join in simultaneously for shared stargazing experiences.
What Permits Are Required for Installing a Permanent Dome Structure?
You'll need to secure construction permits and check local zoning regulations before building your dome. Contact your building department to verify specific requirements, as they'll vary based on your dome's size and purpose.
How Much Electricity Will a Home Planetarium Setup Typically Consume?
You'll find home planetariums are highly energy efficient, typically consuming only 3 watts of electricity. That's less than a nightlight! Running it for six hours will barely impact your monthly power bill.
Are There Insurance Implications for Adding an Observatory to My Home?
You'll need to update your insurance coverage when adding an observatory. It'll likely increase your property value and premiums, but protection for your equipment and structure is essential. Consider a specialized floater policy.
Final Thoughts
You've now got all the tools needed to create your personal gateway to the cosmos. Whether you're using a simple star projector or connecting to remote telescopes, your home observatory will offer endless opportunities for celestial exploration. Remember, stargazing is a journey that evolves with your interests and expertise. By implementing these tips, you'll transform your space into an astronomical haven that sparks wonder and discovery every clear night.