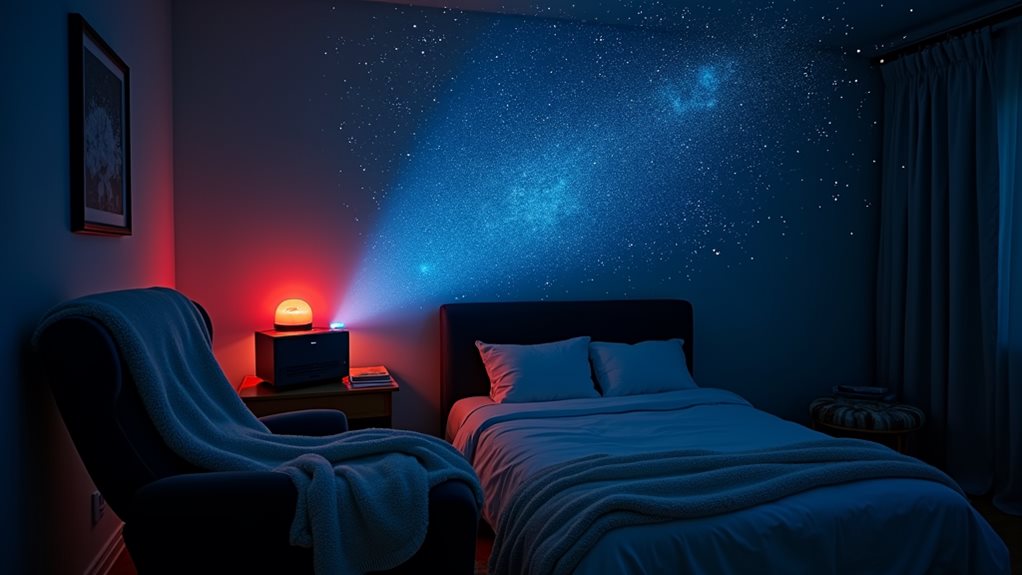
Setting up your home planetarium requires careful consideration of equipment and space. You’ll need to select a projector with suitable brightness and resolution, ensuring compatibility with your chosen features like shooting star effects and rotation controls. Create a dedicated dark room with proper seating arrangements, and maintain regular cleaning schedules for peak performance. Position your projector at the ideal distance (120-290 cm) for sharp images, and adjust settings for the clearest star patterns. There’s so much more to discover about maximizing your cosmic viewing experience.
Why a Home Planetarium Makes the Perfect Family Entertainment

While traditional entertainment options like video games and movies have their place, a home planetarium offers an unparalleled combination of education and engagement that’s perfect for the whole family.
You’ll discover that family engagement reaches new heights as you explore the cosmos together, creating lasting memories while fostering scientific curiosity. Through immersive experiences, your children will develop critical thinking skills and spatial awareness, all while being captivated by the wonders of the universe. This immersive environment provides a unique opportunity to restore creative thinking as family members escape from their daily routines. Setting up your planetarium is remarkably simple with easy operation designed for both adults and children, especially since many models incorporate user-friendly interfaces that enhance accessibility.
Unlike passive entertainment, a home planetarium encourages active participation and discussion, helping you build stronger family bonds through shared scientific discovery. You’re not just investing in entertainment; you’re creating an environment where learning happens naturally, and your family’s interest in astronomy and science can flourish together, unrestricted by traditional classroom limitations.
Essential Features to Look for When Buying Your Planetarium
Selecting the right home planetarium can make all the difference between an average stargazing experience and a truly spectacular one. When you’re exploring different projector types, focus on key features that’ll transform your space into a cosmic wonderland.
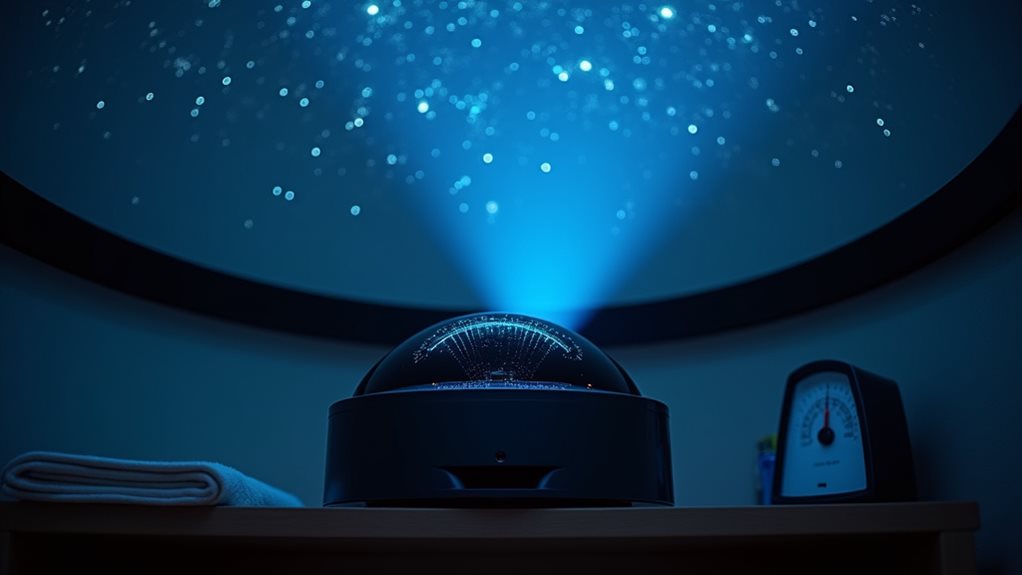
First, examine the image quality specs carefully. You’ll want a projector with high resolution and sufficient brightness to create crisp, vivid star patterns on your ceiling. With advanced models like the DS-1, you can experience an incredible 4.1 million stars through its Chrome star disc. Today’s systems offer laser phosphor projection for exceptionally bright and sharp celestial displays, and models like the Sega Homestar Flux boast a compact design that is ideal for limited spaces.
Look for adjustable focus capabilities and multiple rotation speeds, which will give you more control over your viewing experience. Don’t forget to take into account the projection distance and coverage area – you’ll need enough power to fill your room with stars.
Reflect on additional features like shooting star effects and automatic shut-off timers, which can enhance your stargazing sessions while making operation hassle-free. Being aware of the importance of optional discs can further enhance your viewing experience with diverse celestial scenes.
Step-by-Step Guide to Setting Up Your Home Planetarium
Three key phases define a successful home planetarium setup: planning, assembly, and fine-tuning.
Before diving into DIY projector techniques, you’ll need to carefully evaluate your space and goals. Keep in mind that you’ll need two box fans to properly inflate your setup once assembled.
Follow these essential steps for ideal results:
- Compare dome materials – perforated metal offers durability while inflatable options provide portability.
- Design your projection system using precision-drilled holes and proper light source alignment.
- Test and adjust your setup, focusing on minimizing unwanted reflections with black paint and strategic positioning.
When crafting your home planetarium, you’re not just creating a display – you’re building your personal window to the cosmos. Using a single LED torch as your light source provides the optimal brightness for star projection.
Take time to experiment with different dome material combinations and projector configurations until you achieve the perfect balance of clarity and immersion that suits your space.
Best Practices for Planetarium Maintenance and Care
Once you’ve set up your home planetarium, maintaining its components becomes your next major focus.
You’ll want to establish a regular maintenance schedule that’ll keep your system running smoothly and prevent costly repairs down the line. A few dust specks won’t significantly impact your viewing, so avoid frequent cleaning as it can actually degrade performance. Start by mastering basic cleaning techniques: use compressed air to remove dust, followed by gentle cleaning with cotton swabs and distilled water for stubborn spots. To enhance your experience, regularly clean the lens to maintain image quality. Consider running multiple test runs of your system after each cleaning session to ensure optimal performance.
Don’t overlook your dome’s surface reflectivity – it’s vital for crystal-clear projections.
Keep your environment controlled by managing temperature and humidity levels, and always guarantee proper ventilation to prevent overheating. Ensuring a stable project or surface is also crucial for a clear display.
When it comes to electrical components, regular checks are non-negotiable.
Maximizing Your Viewing Experience With Advanced Features
To enhance your home planetarium experience, you’ll want to start by adjusting the shooting star display settings to match your preferred viewing duration and frequency.
Timer functions can be programmed to automatically power down the system after your desired viewing session. Your scenic disc‘s impact can be dramatically improved by fine-tuning the rotation speed and experimenting with different projection angles, particularly when showcasing constellations or celestial events. It’s also beneficial to consider optimal projection quality as it plays a crucial role in achieving impressive visuals.
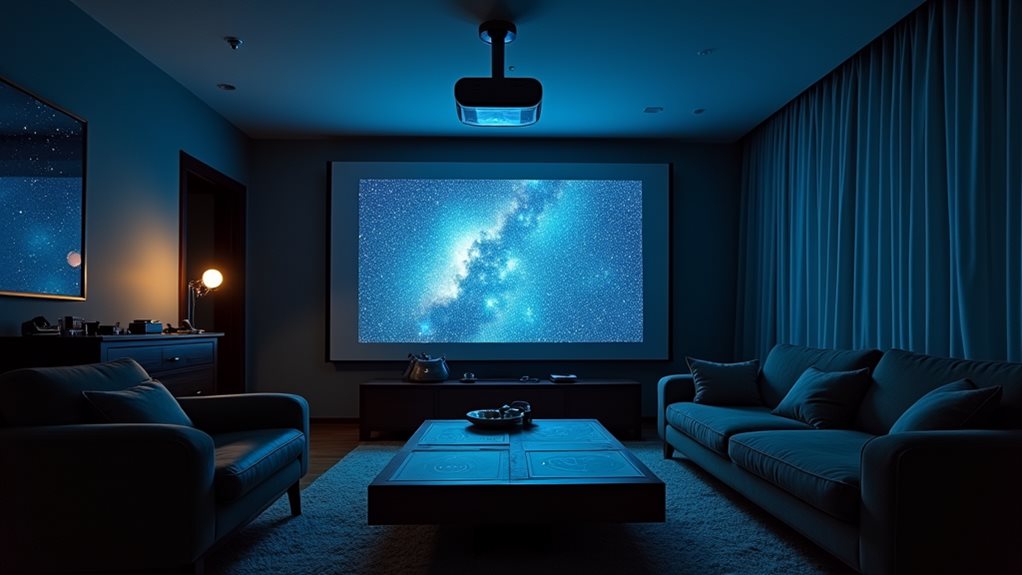
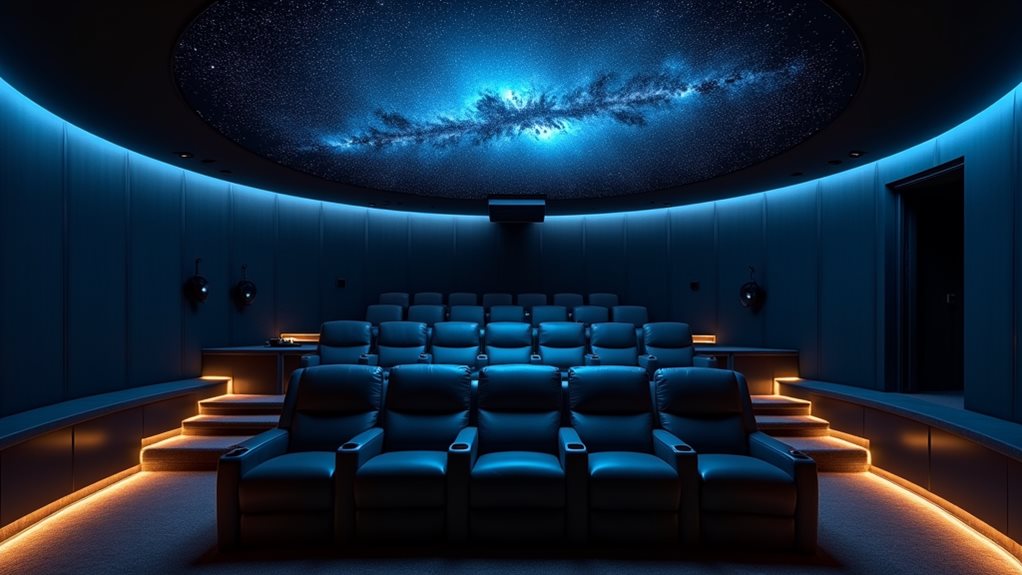
For the most immersive experience possible, consider upgrading your system to incorporate laser phosphor projectors that can deliver stunning 360-degree views of space.
Shooting Star Display Settings
While setting up your home planetarium‘s shooting star display might seem complex at first, mastering the advanced features will dramatically enhance your stargazing experience.
You’ll want to refine your shooting star settings by following these key steps:
- Position your projector between 150-230 cm from your viewing surface for maximum clarity and sharpness.
- Adjust the focal ring until you achieve crystal-clear star projections across the entire 270 cm display area.
- Experiment with different projection modes and rotation settings to create your perfect immersive experience.
You’re free to customize the display exactly how you want it.
Take advantage of the timer function, switch between static and rotating star fields, and toggle the shooting star feature on and off until you’ve created your ideal celestial atmosphere. Remember to optimize your environment by using the projector in a dark room to truly elevate the viewing experience.
Scenic Disc Enhancement Tips
Four essential disc enhancement techniques can dramatically transform your home planetarium experience from basic to breathtaking.
You’ll want to start by optimizing your projection distance between 120-290 cm, ensuring the sharpest image quality through the glass optical lenses.
Next, experiment with different scenic disc themes, from the mesmerizing Aurora Borealis to the enthralling Andromeda galaxy, to create truly immersive settings.
Don’t forget to utilize the silent disc rotation feature, which maintains the celestial atmosphere without distracting noise.
Finally, complement your viewing experience by incorporating accent lighting that matches your chosen projection.
For the best results, you can seamlessly switch between constellation lines and detailed galaxy views, adjusting the focus as needed for each unique celestial display. Additionally, high-quality models offer features such as adjustable projection angles and built-in sound for a more engaging experience.
Custom Projection Distance Control
Building on your disc enhancement skills, mastering projection distance control takes your home planetarium to an entirely new level of sophistication.
You’ll achieve excellent viewing angles by adjusting your projector’s position within the 120-290 cm range, giving you complete control over your celestial display.
For the best projection results:
- Position your projector 47-114 inches from your viewing surface, adjusting the focus for maximum clarity.
- Experiment with different heights to find your ideal viewing angle, considering your room’s layout.
- Test various distances to determine the sweet spot where star definition and coverage align perfectly.
Additionally, ensure to consider the brightness adjustability feature of your projector, as it can significantly enhance your viewing experience based on the lighting conditions in your space.
Creating the Ideal Space for Your Home Planetarium
To achieve ideal viewing conditions in your home planetarium, you’ll need to focus on creating a completely dark environment through blackout curtains or specialized window treatments.
You’ll want to guarantee proper airflow and ventilation to prevent the space from becoming stuffy during extended viewing sessions, especially since planetarium equipment can generate heat.
The room’s temperature should be maintained at a comfortable level, typically between 68-72°F (20-22°C), which you can achieve through strategic placement of vents and, if necessary, a separate climate control system. Additionally, consider factors like ambient light when setting up your home planetarium to ensure optimal visibility of your sky projections.
Room Darkening Solutions
Creating an ideal dark environment serves as the foundation for any successful home planetarium setup. When it comes to blackout solutions, you’ll want to start with extensive light filtering strategies that transform your space into a perfect stargazing sanctuary.
To achieve optimal darkness, follow these essential steps:
- Install high-quality blackout curtains or cellular shades that completely block external light sources.
- Apply weather stripping around door frames to prevent light leakage from adjacent rooms.
- Use dimmable LED lights with automatic timers for controlled ambient lighting when needed.
Don’t forget to reflect on surfaces in your room – they can interfere with projection quality. A successful setup can enhance your experience with accurate night sky representations in your home planetarium. You’ll find that investing in non-reflective materials and managing various light sources will greatly enhance your viewing experience. With proper light control, you’re setting yourself up for stunning celestial displays.
Ventilation and Temperature Control
Beyond achieving perfect darkness, proper ventilation and temperature control will determine how comfortable your home planetarium experience becomes.
You’ll need to implement effective airflow management to prevent your space from becoming stuffy and overheated during presentations. Install a small, reversible extractor fan near a ventilation grill, and consider constructing a black foam-board housing to maintain the room’s aesthetics while ensuring maximum noise reduction.
Guide power cables discreetly along safety hooks to avoid tripping hazards, and paint or tape visible components black to preserve the dark environment.
For extended viewing sessions or larger groups, you’ll want to create multiple ventilation points. Remember to monitor the temperature regularly and adjust your setup accordingly – you can always open additional doors or activate auxiliary fans when needed to maintain ideal viewing conditions. Additionally, ensuring a comfortable environment will enhance the immersive experience of your cosmic displays, allowing for more enjoyable stargazing sessions.
Tips for Extending Your Planetarium’s Lifespan
While investing in a home planetarium represents an exciting venture into astronomical exploration, maintaining its longevity requires careful attention to several key factors.
To maximize your system’s lamp longevity and guarantee peak performance, you’ll need to establish a consistent maintenance routine.
Here are three essential practices for extending your planetarium’s lifespan:
- Keep your projector in a well-ventilated area and clean air filters monthly to prevent overheating.
- Monitor your lamp’s usage hours and reduce unnecessary on/off cycles to minimize wear.
- Maintain regular projector maintenance schedules, including component inspections and professional servicing when needed.
Enhancing Learning With Your Home Planetarium System
A well-maintained home planetarium opens up remarkable educational possibilities for both children and adults.
You’ll discover countless opportunities for family bonding while exploring the cosmos together, making complex scientific concepts accessible and engaging for everyone involved.
To maximize the educational benefits of your system, try combining traditional lessons with immersive experiences.
You can compress long-term astronomical patterns into brief viewings, making it easier to understand celestial movements and spatial relationships.
Don’t limit yourself to astronomy – use your planetarium for interdisciplinary learning by incorporating history, mathematics, and even creative writing into your celestial adventures.
With digital technology, you’re free to simulate journeys across the universe, stream real-time observatory data, and create customized learning experiences that spark curiosity and foster critical thinking.
Frequently Asked Questions
Can Multiple Home Planetariums Be Synchronized to Create a Larger Display?
You can synchronize multiple home planetariums using advanced control systems, but it’s complex and costly. While display expansion is possible, you’ll need specialized software and technical expertise to achieve seamless synchronization.
Are Replacement Bulbs Available if the Original LED Projector Fails?
You’ll find most LED projectors don’t have replacement bulb options since they’re integrated units. When they fail, you’ll typically need a new projector, but you can extend life through proper projector maintenance tips.
Do Home Planetariums Interfere With Sleep Patterns or Circadian Rhythms?
Yes, they can affect your sleep quality if used incorrectly. You’ll want to limit light exposure before bedtime and control when you use your planetarium to protect your natural sleep-wake cycle.
Can Custom Star Maps Be Created for Specific Dates and Locations?
Yes, you can create custom star maps for any date and specific location you choose! You’ll see exactly how the stars aligned during your special moment, making a unique and personal celestial snapshot.
How Do Temperature and Humidity Affect Planetarium Projection Quality?
You’ll notice temperature effects can blur your projections, while high humidity control is essential. Keep your room’s temperature stable and humidity low to maintain sharp, clear star displays in your viewing space.
Final Thoughts
Your home planetarium can transport you and your family to the furthest reaches of the cosmos without leaving your living room. By following proper setup procedures, maintaining your equipment, and creating the ideal viewing environment, you’ll enjoy countless hours of celestial exploration. Whether you’re an aspiring astronomer or simply love stargazing, your planetarium investment will continue to inspire wonder and facilitate learning for years to come.